Collections
Collections is the reader-facing name for the desktop area that manages grouped
outputs, reusable data outputs, and standard publication profiles. Behind the interface,
this stage spans config/transform.yml, collection metadata in
config/import.yml, and the collection-facing parts of config/export.yml.
Use Collections to:
inspect the collections created from imported data
review inferred collection metadata before publishing it
configure widgets and other computed outputs
configure reusable JSON data outputs and standard biodiversity profiles
preview a collection before recomputing everything
recompute and validate the generated collection content
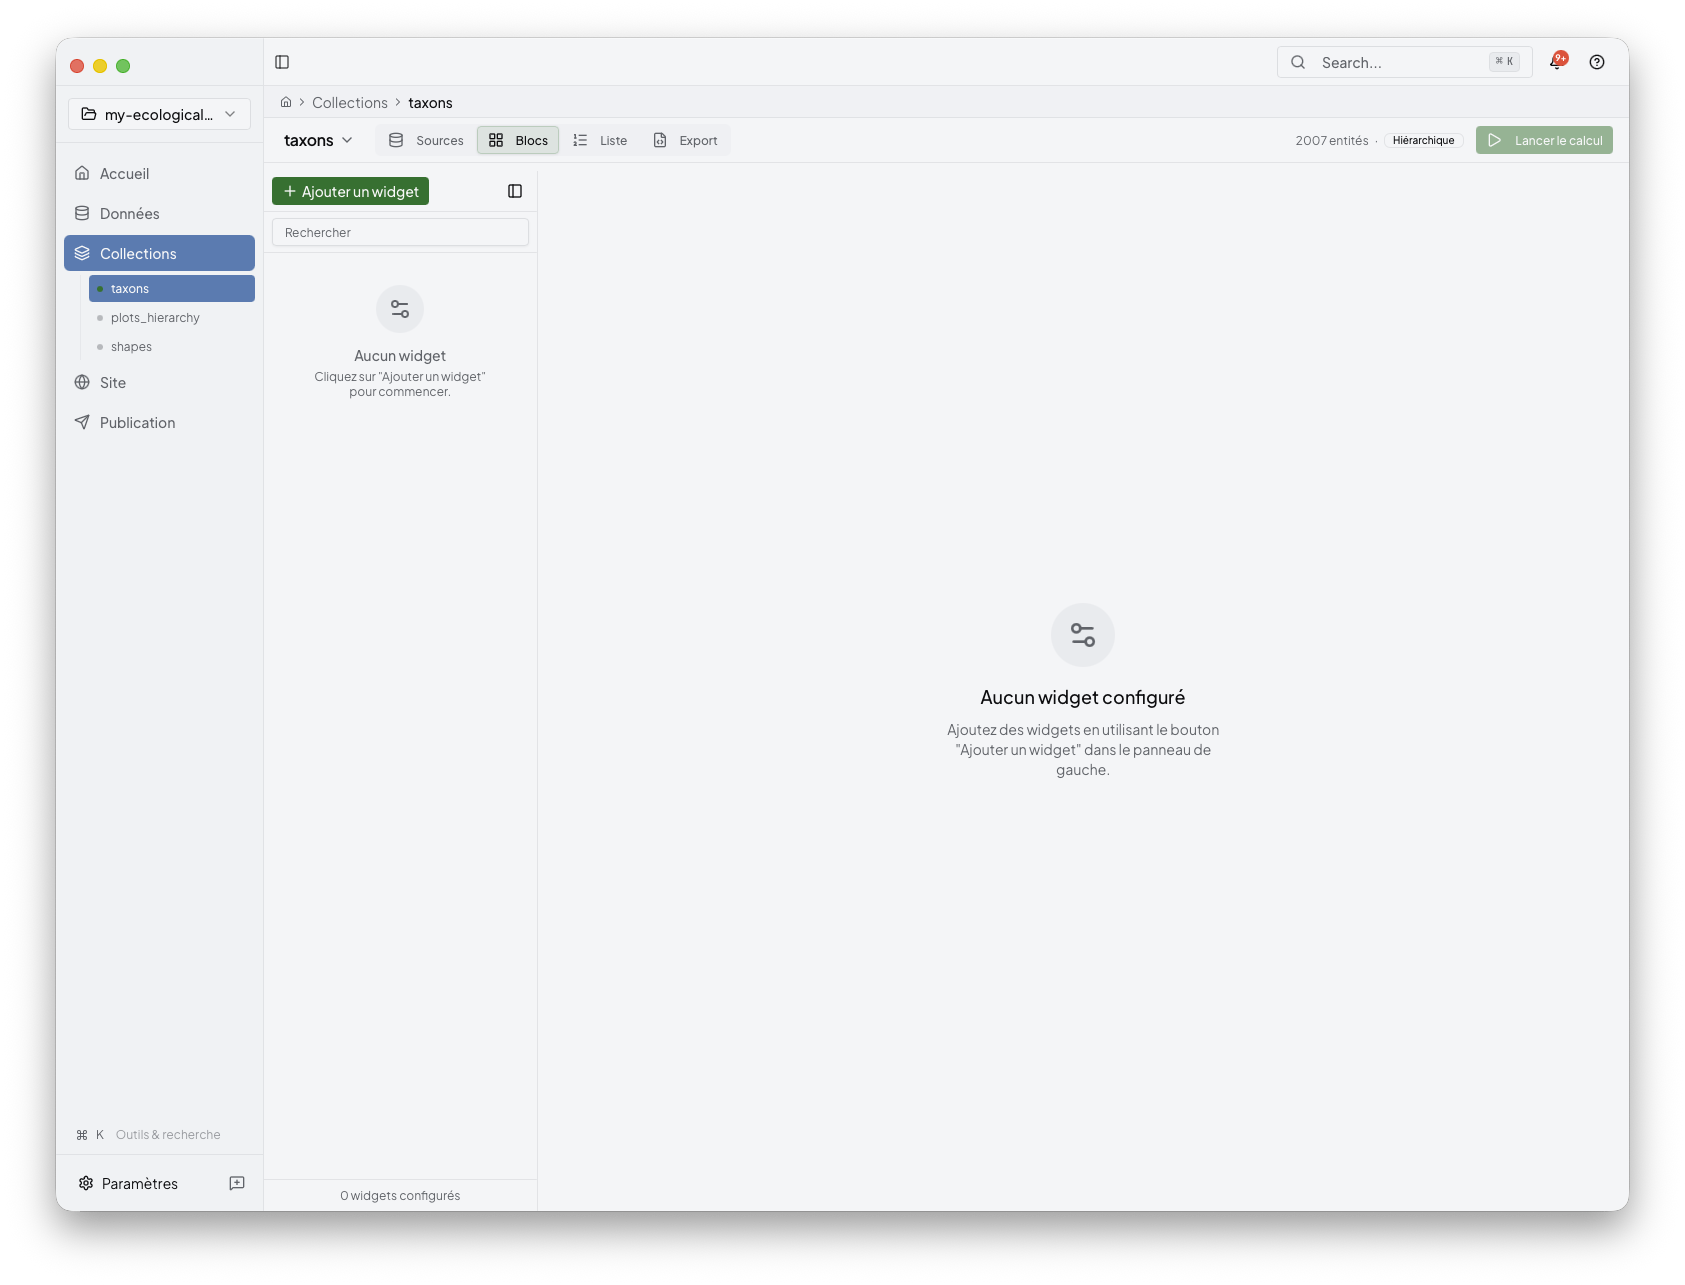
1. Start from the collections overview
After import, open the collections area to see the project entities Niamoto can turn into pages, widgets, and reusable outputs.

Typical collections include taxa, plots, or shapes, but the exact set depends on the project you imported.
2. Review collection metadata
Open a collection review to confirm what Niamoto inferred from import.yml and
transform.yml.
Reviewable metadata includes:
the source backing the collection
the grain, such as taxon, site, occurrence, event, inventory, or aggregate
roles such as site, API, standard, or technical
visibility and review status
Niamoto stores accepted edits as a metadata overlay in config/import.yml.
Manual collections can also be created from known reference, dataset, or
transform group sources. This keeps the collection list explicit before it is
used for pages, APIs, or standard profiles.
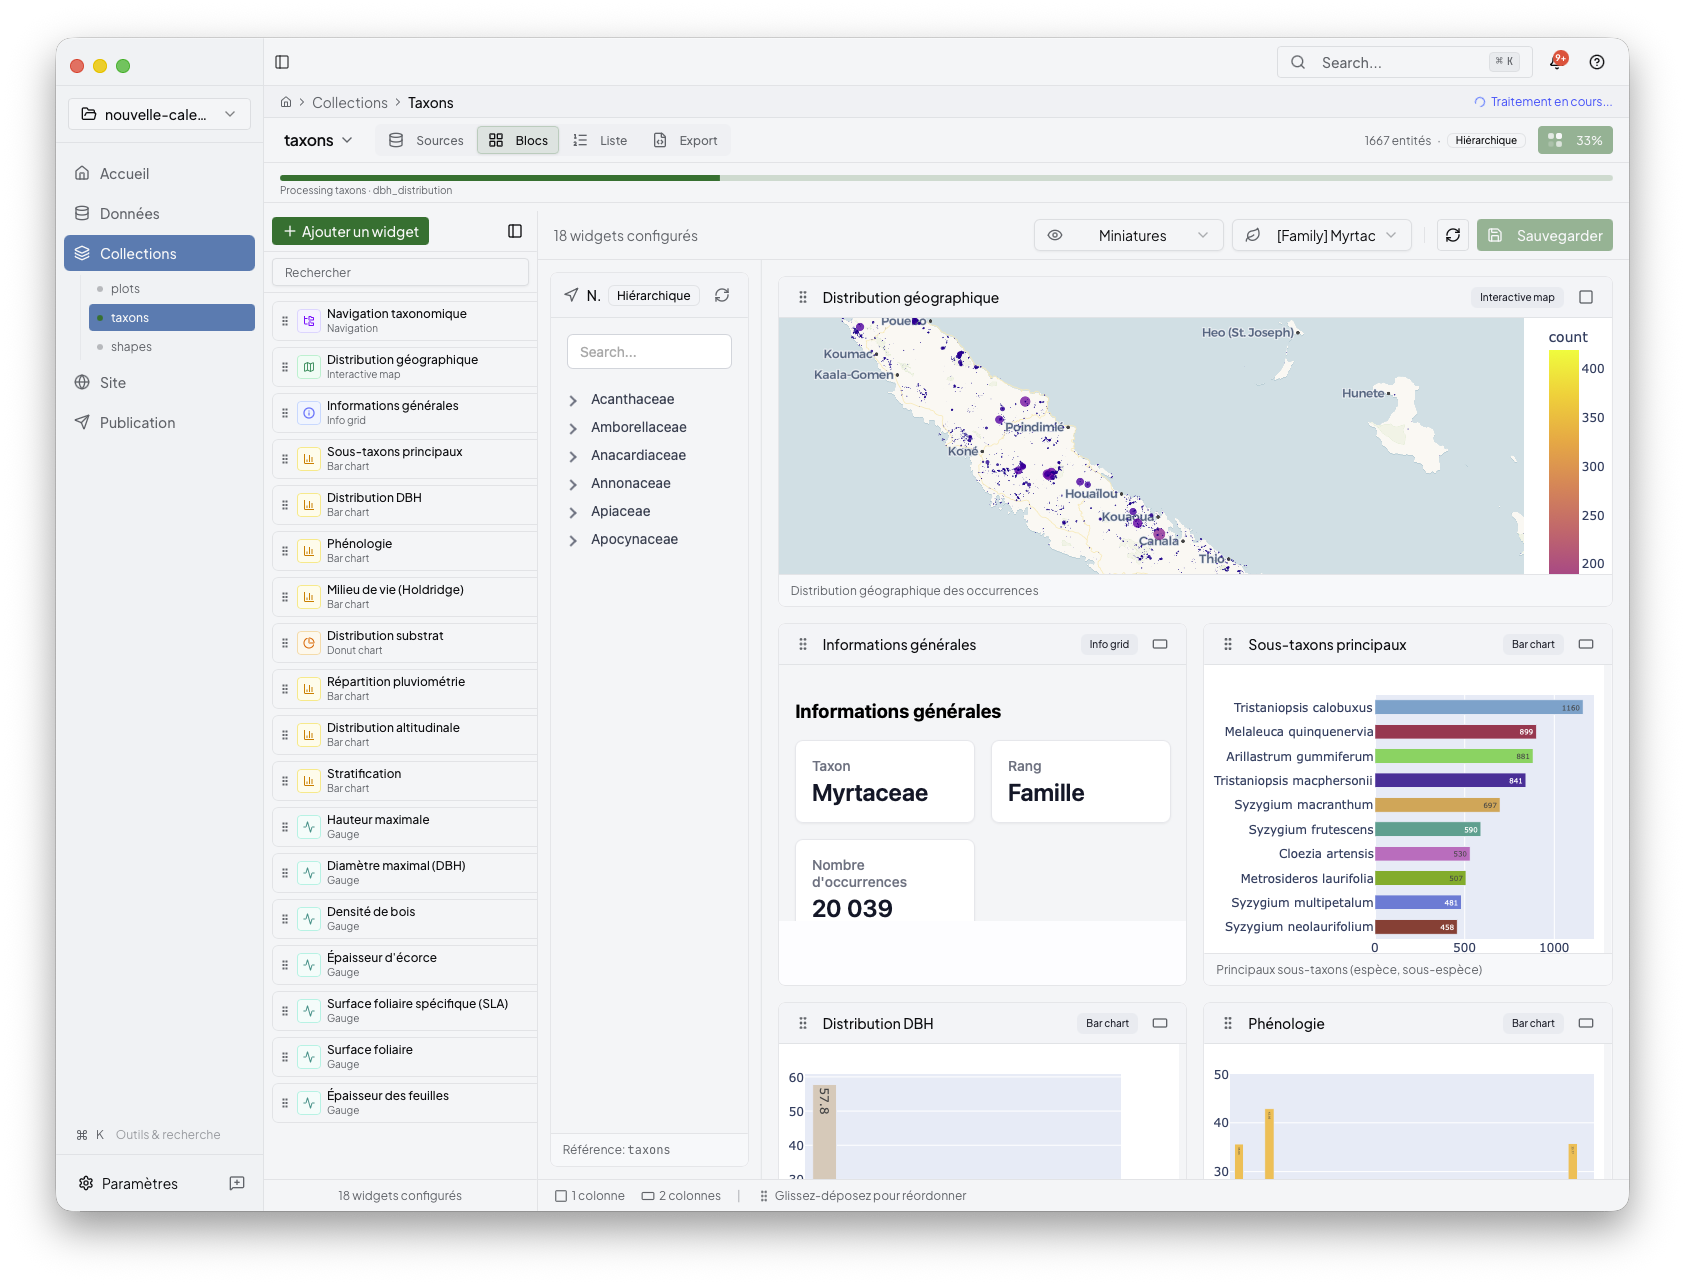
3. Configure collection content
Open a collection to edit the content blocks attached to it.
This is where you decide:
which widgets belong to the collection
which source fields or grouped values feed them
which parameters shape the final result
Niamoto keeps the workflow UI-first. You do not need to start from raw YAML, but
the changes you make here can update both config/transform.yml and
config/export.yml, depending on whether you are defining data, widget display,
list pages, or API outputs.
4. Add widgets from the gallery
When you need a new content block, open the widget picker and browse the available suggestions.
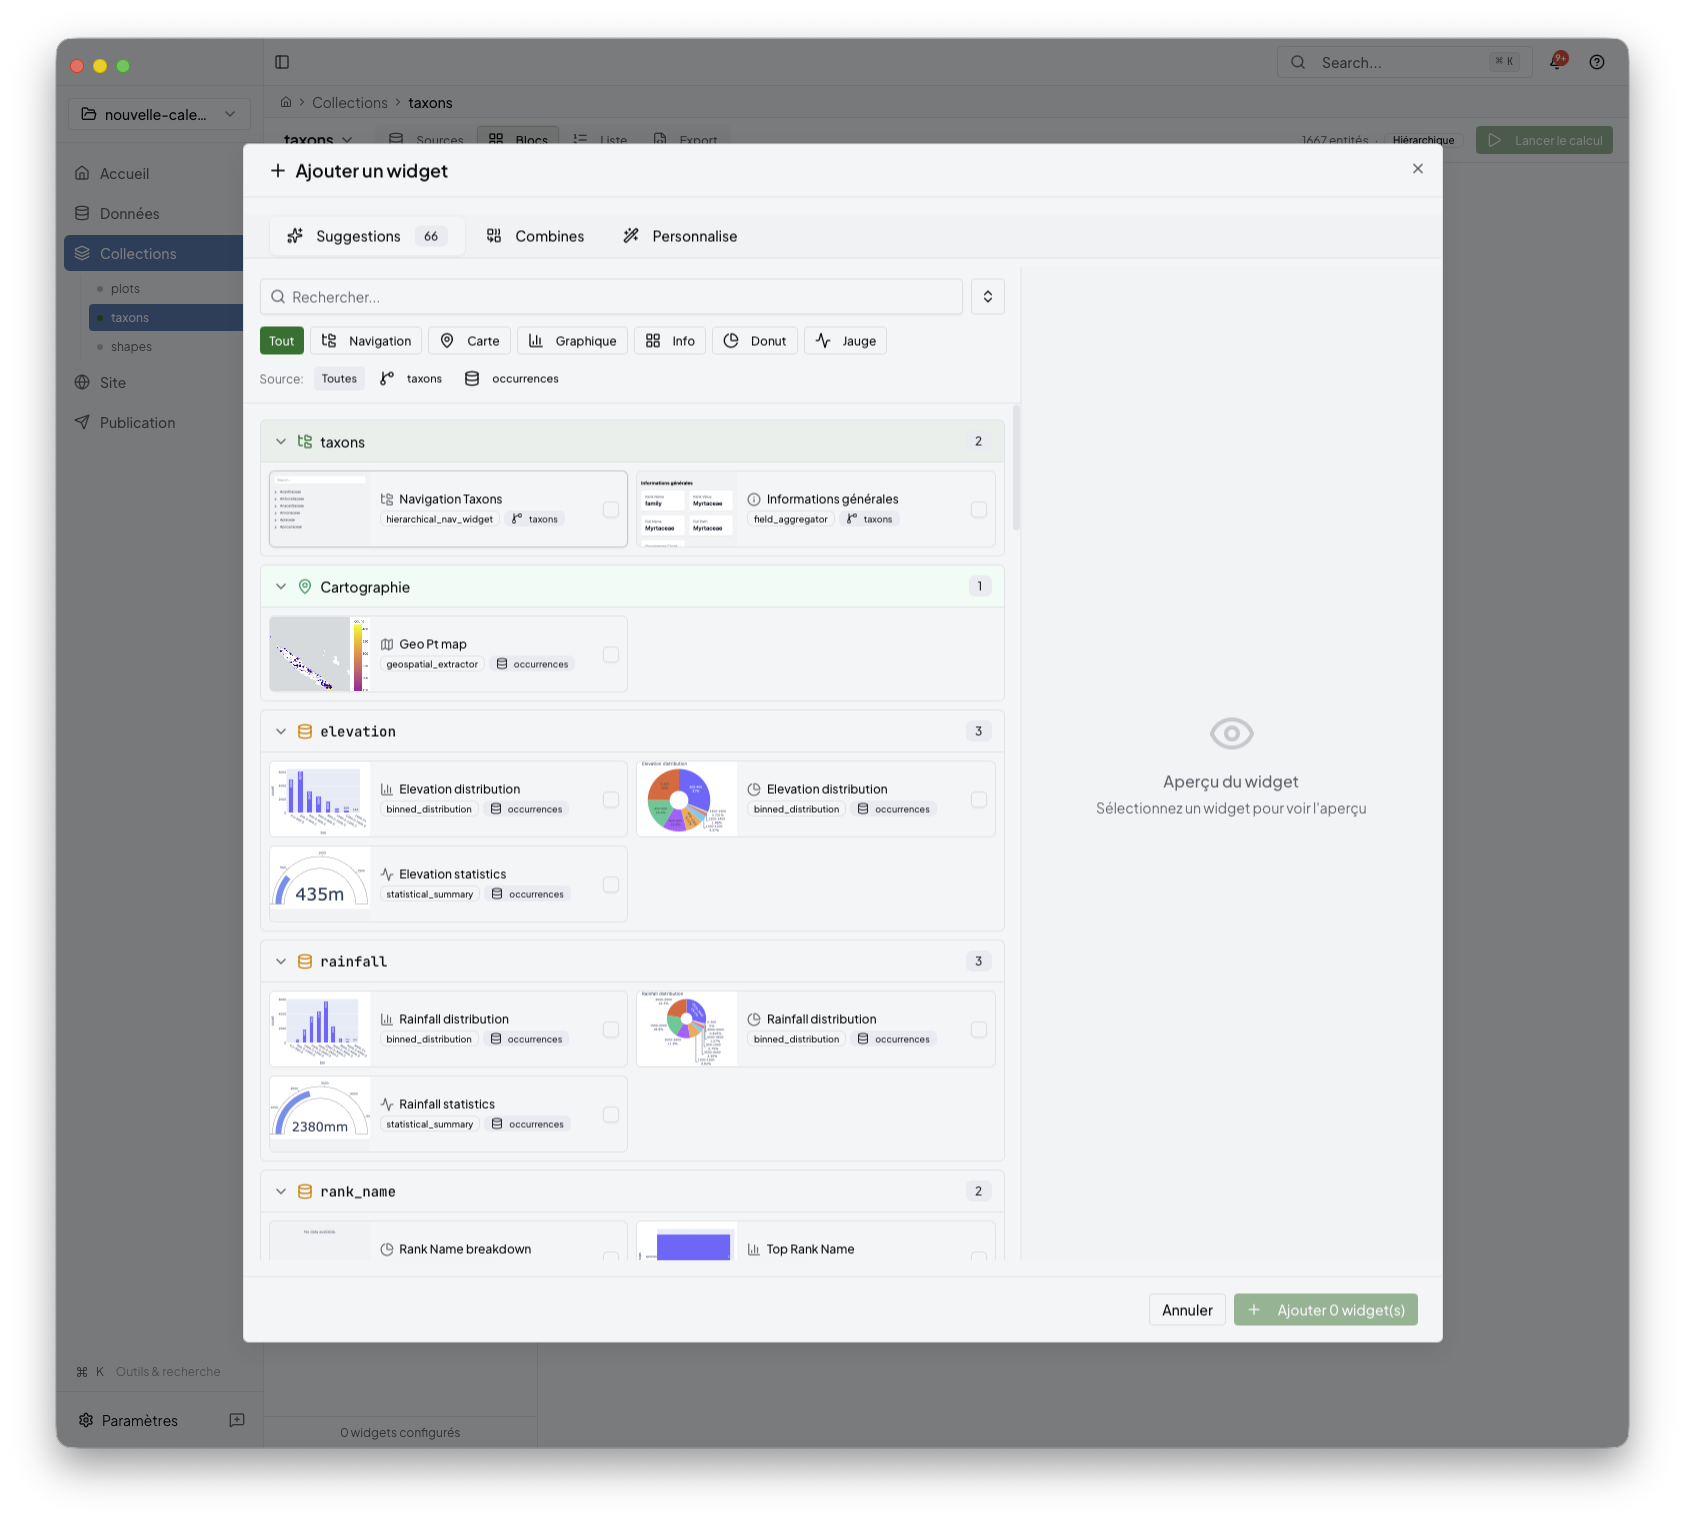
The gallery helps you discover:
recommended widgets for the current collection
plugin-backed parameter forms
combinations that already make sense for the available data
For a more focused view of widget selection, list pages, and API outputs, see widget-catalogue.md.
5. Configure data outputs
Open a collection and use the Data tab to configure machine-readable outputs. This tab is collection-scoped: it shows what is already configured for the active collection before suggesting new output types.
The Data tab can show:
simple reusable JSON outputs backed by ordinary
json_api_exportertargets underexportsinconfig/export.ymlbiodiversity standard profiles stored under the top-level
standard_profilessection inconfig/export.ymllegacy standard-like exports, such as existing Darwin Core JSON targets, as migration hints
Simple JSON is the low-friction option when the goal is to expose Niamoto’s transformed collection data as index and detail JSON files. Standard profiles are used when the output must follow a biodiversity publication standard. A standard profile describes a standard, target grain, source, field mapping, validation status, and profile-owned outputs.
Standard profiles are not generic collection exports. For example, Darwin Core Occurrence requires occurrence-grain records, or an explicit relation from a collection such as taxa to occurrence data. Niamoto shows compatibility and validation reports before generating API JSON, Darwin Core Archive, or standard files. Test or draft outputs are written separately from final publication outputs.
Legacy dwc_occurrence_json targets remain supported as ordinary JSON API
exports. The Data tab can surface them as Darwin Core Occurrence-like hints,
but the first implementation does not rewrite existing projects
automatically.
Advanced project defaults for JSON API targets remain available from the Data tab and from the dedicated advanced settings route. Use them when you need to change shared exporter defaults rather than one collection output.
For configuration details, see ../06-reference/api-export-guide.md and ../06-reference/standard-profiles.md.
6. Recompute and validate the result
After editing a collection, recompute it so the saved configuration and the generated output stay aligned.
Use this step when:
you added or removed widgets
a parameter changed
imported data changed and the collection needs a fresh run
How this stage fits the full flow
Collections sits between Import and Site:
Import loads the project data
Collections defines reusable grouped outputs
Site arranges those outputs into the generated portal
Publish builds and deploys the final result