Your first Niamoto project
Follow the desktop app from the welcome screen to a published portal.
Prerequisites
Niamoto desktop installed (installation.md).
Your data (a CSV of occurrences, and optionally shapefiles), or a sample from niamoto-example-data.
1. Create a project
Launch the app. The welcome screen shows recent projects and a button to create a new one:
Click Create project, pick a name and a folder. Niamoto creates the standard tree:
my-project/
├── config/
│   ├── config.yml
│   ├── import.yml
│   ├── transform.yml
│   └── export.yml
├── imports/
├── exports/
├── plugins/
├── templates/
├── db/
└── logs/
2. Import your data
Drop CSVs, shapefiles, or GeoPackages onto the import screen. Niamoto’s classifier suggests a role for each column: taxonomy, occurrences, plots, shapes, or raster.
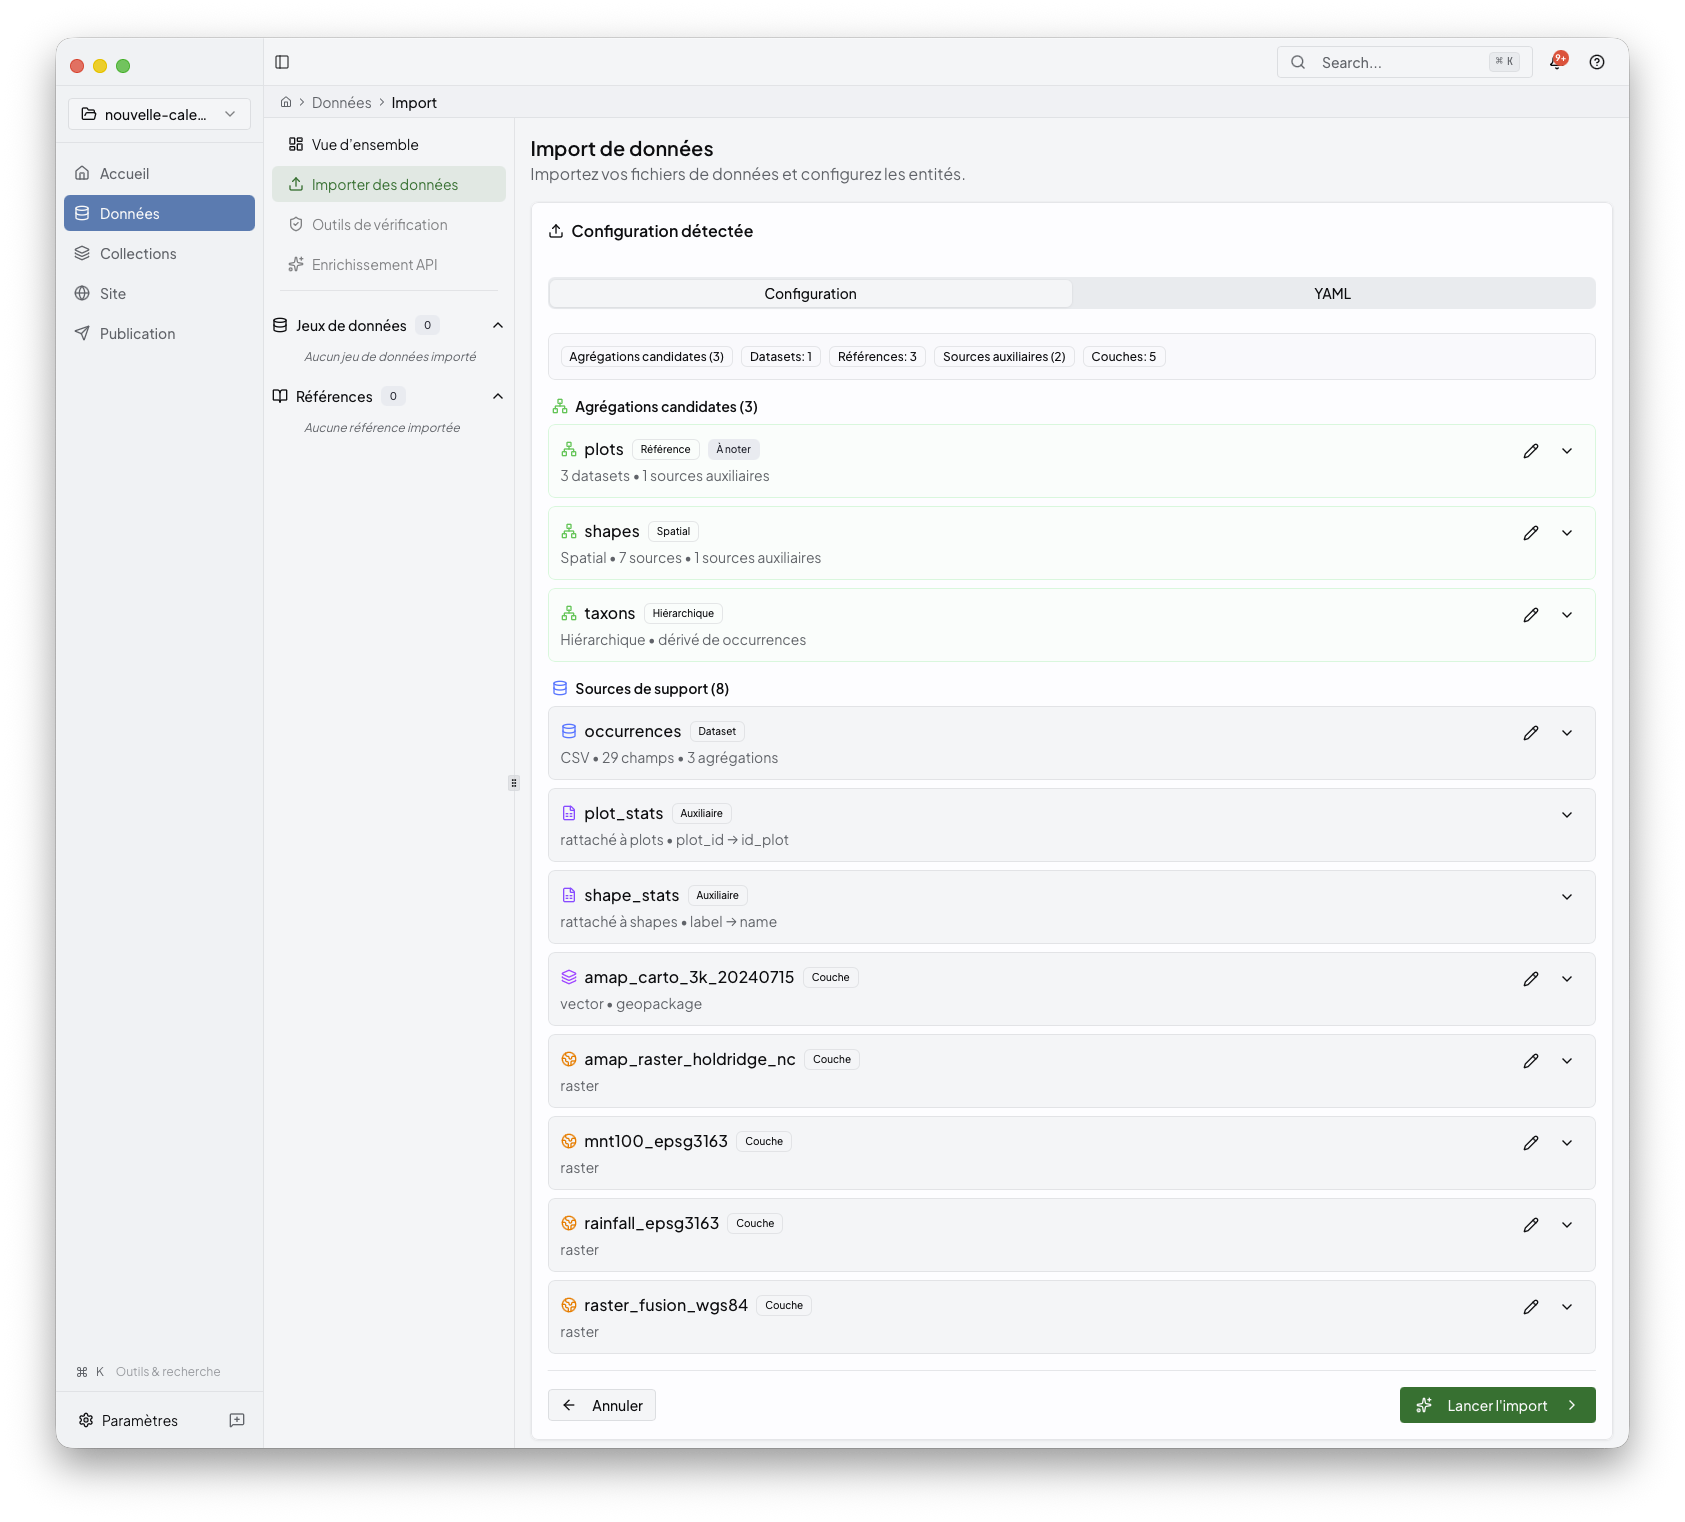
Review the suggestions, fix the misses, then click Import. The progress panel shows imported rows and rejected rows.
See ../05-ml-detection/README.md for the details of the auto-detection pipeline.
3. Explore the collections
The dashboard lists the collections Niamoto built: taxa, plots, shapes. Open a collection to inspect raw rows and computed widgets:

Each collection exposes the widgets available for that data. Niamoto renders the previews against your local project.
4. Arrange the portal
Open the site builder. Drag widgets into pages, set titles and descriptions, then wire the navigation:

5. Publish
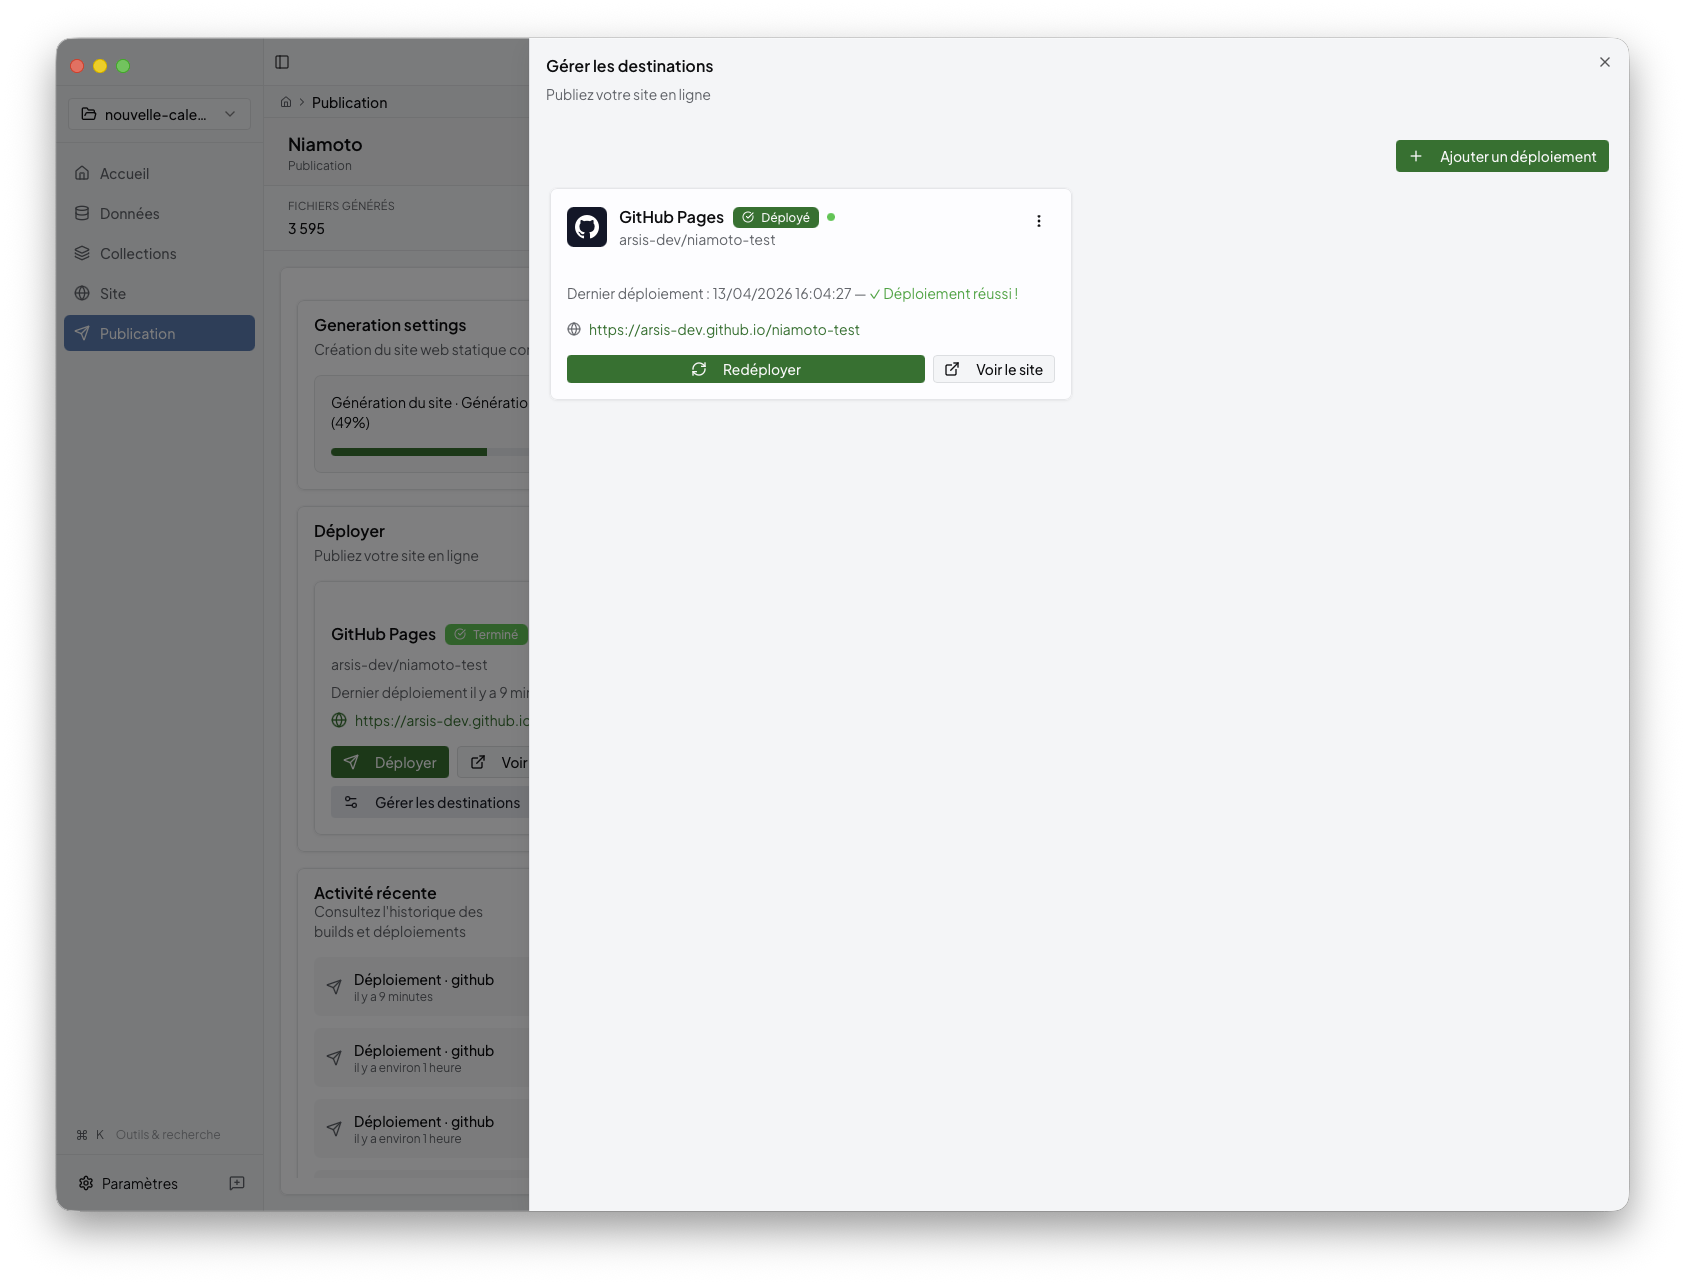
When the preview looks right, click Publish. Pick a deployment target: Cloudflare Workers, GitHub Pages, Netlify, Vercel, Render, or SSH / rsync. Niamoto renders the static site, uploads it, and returns the result:
What’s next
concepts.md for the import, transform, and export model behind the UI.
../02-user-guide/README.md for the detailed desktop tour.
../02-user-guide/import.md for the full import workflow.
../02-user-guide/collections.md for collection outputs and widgets.
../02-user-guide/site.md for pages, navigation, and appearance.
../02-user-guide/publish.md for build preview and deployment.
../03-cli-automation/README.md for the same pipeline from a shell.
../04-plugin-development/README.md for custom transformers, widgets, loaders, exporters, and deployers.